How to Install Ultralytics YOLO with Conda#
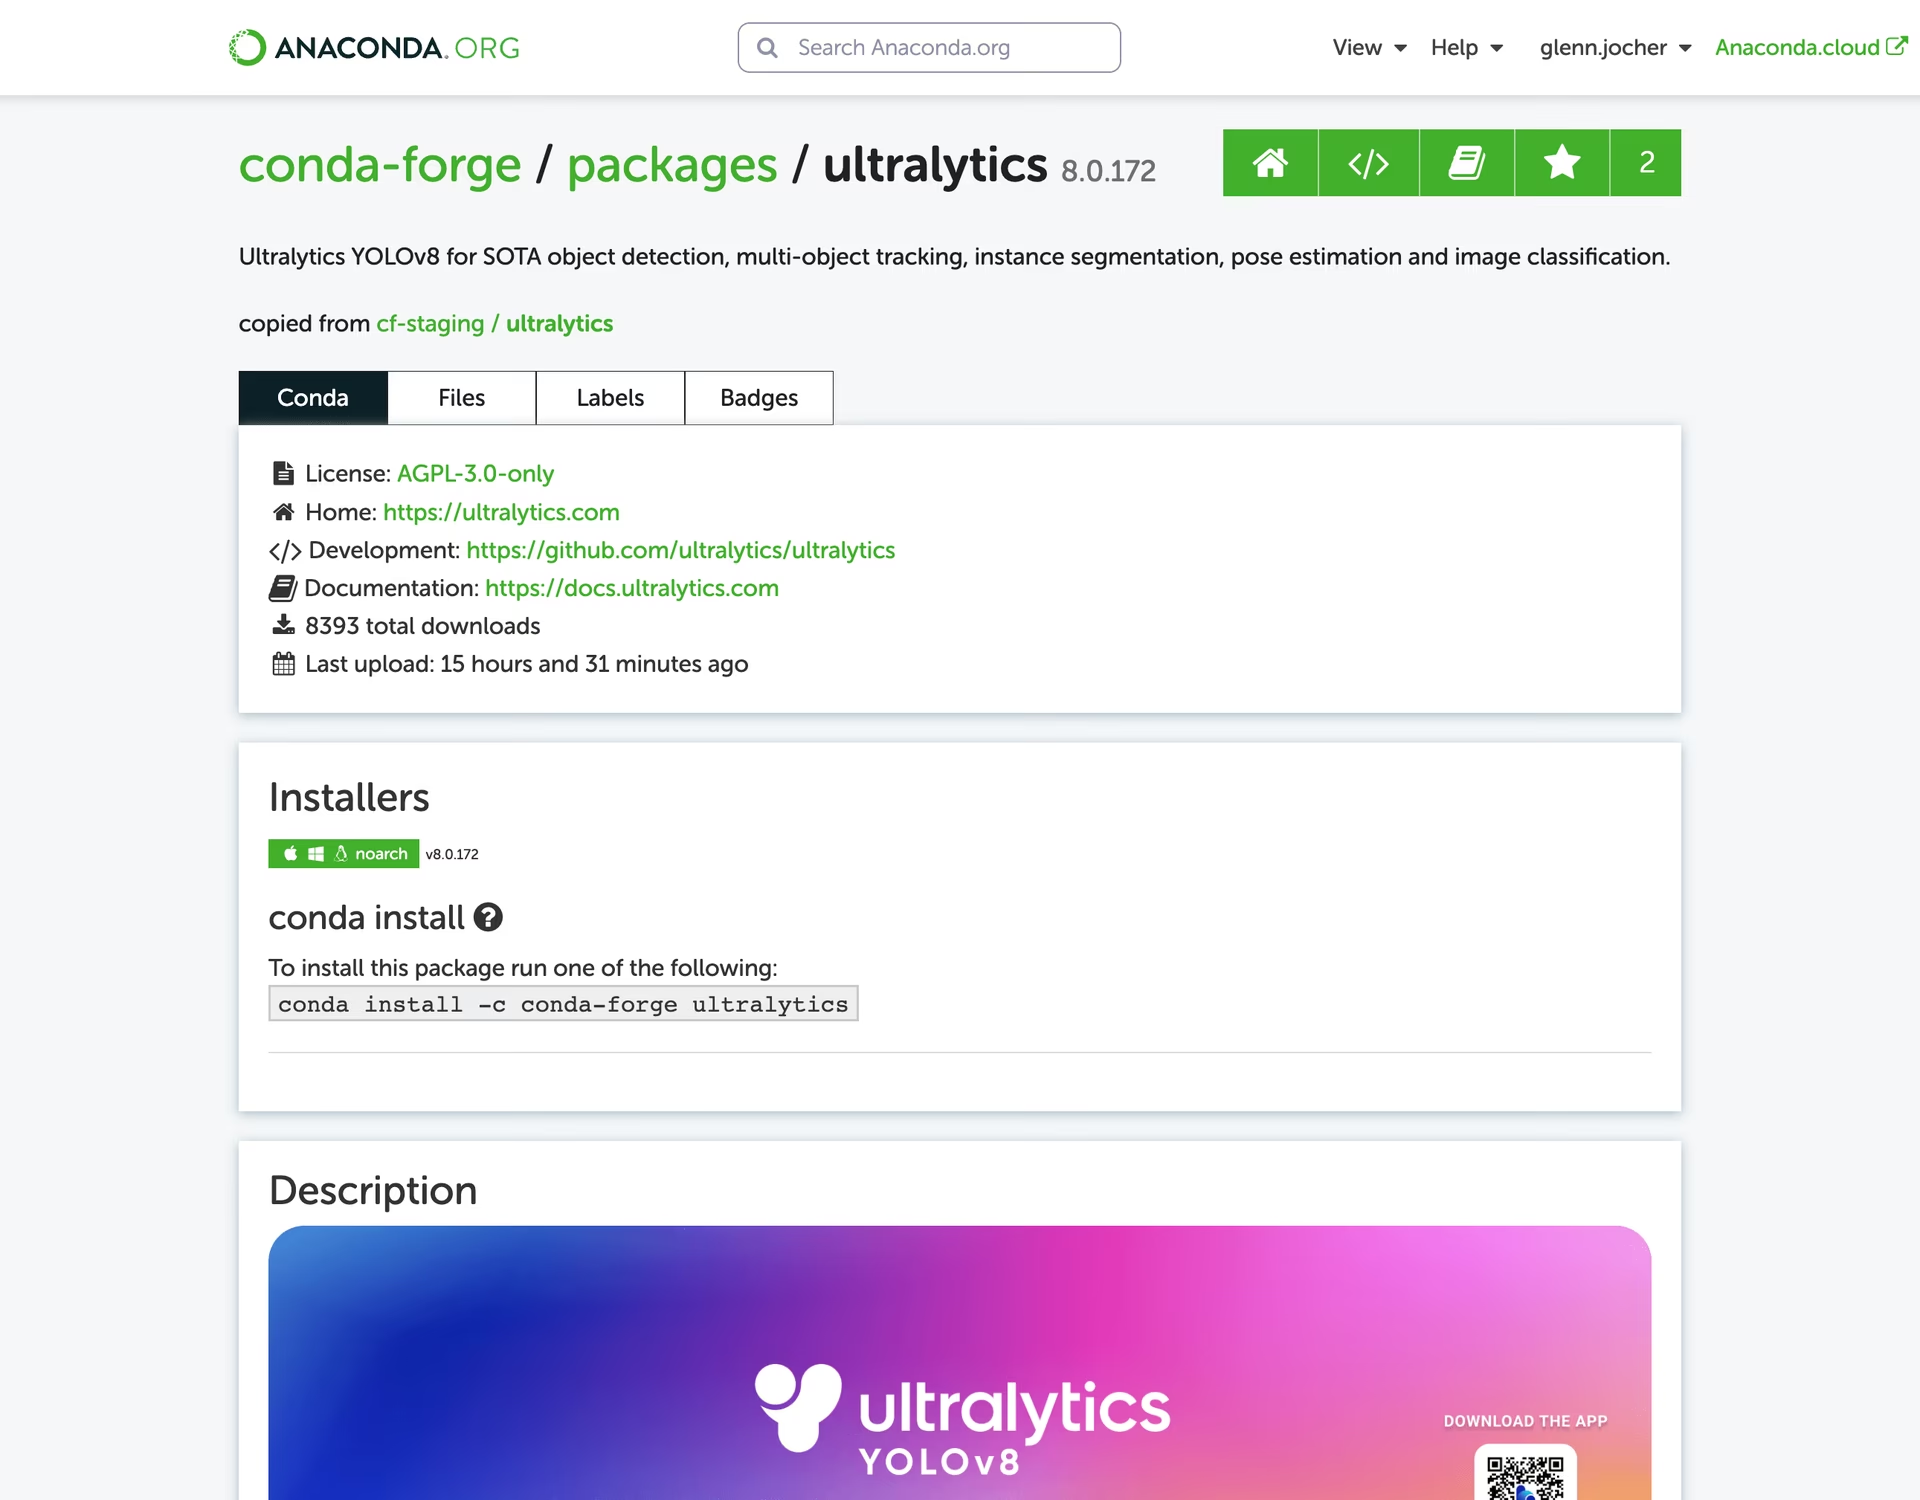
This guide walks through setting up a Conda environment for your Ultralytics projects. Conda is an open-source package and environment management system that offers an excellent alternative to pip for installing packages and dependencies. Its isolated environments make it particularly well-suited for data science and machine learning work. For more details, visit the Ultralytics Conda package on Anaconda and check out the Ultralytics feedstock repository for package updates on GitHub.




This guide covers how to create an environment with Ultralytics, run inference, use the Conda Docker image, and speed up installs with libmamba.
Prerequisites#
You should have Anaconda or Miniconda installed on your system. If not, download and install it from Anaconda or Miniconda.
Installing Ultralytics#
Create a new Conda environment with Ultralytics from the conda-forge channel, then activate it. Install Python, Ultralytics, and torchvision (not a dependency of the conda-forge package) in the same command so conda resolves current, compatible versions together:
conda create --name ultralytics-env -c conda-forge python=3.11 ultralytics torchvision -y
conda activate ultralytics-envIf you're working in a CUDA-enabled environment, add the conda-forge pytorch-gpu metapackage to the same command so conda resolves a CUDA-enabled PyTorch build:
conda create --name ultralytics-env -c conda-forge python=3.11 ultralytics torchvision pytorch-gpu -y
conda activate ultralytics-env
Note on ROCm Environment (AMD GPU, Linux)#
For AMD GPU acceleration on Linux using ROCm, PyTorch ROCm wheels are not available via Conda and must be installed with pip. Use a Conda environment for isolation, then install PyTorch ROCm and Ultralytics via pip:
conda create --name ultralytics-rocm python=3.12 -y
conda activate ultralytics-rocm
pip install "torch[device-all]" "torchvision[device-all]" --index-url https://stable.repo.amd.com/rocm/whl-next/
pip install ultralytics
See the PyTorch Get Started page for supported ROCm versions and the AMD GPU guide for MIGraphX inference setup, which requires Python 3.11 or newer on Linux x86_64.
Using Ultralytics#
With Ultralytics installed, you can now start using its robust features for object detection, instance segmentation, and more. For example, to predict an image, you can run:
from ultralytics import YOLO

model = YOLO("yolo26n.pt")  # initialize model
results = model("path/to/image.jpg")  # perform inference
results[0].show()  # display results for the first image
Ultralytics Conda Docker Image#
The Conda Dockerfile uses conda-forge PyTorch 2.13, torchvision 0.28, and CUDA 13.0. Conda-forge releases can lag the PyTorch pip releases used by the standard GPU image. Automated publishing of latest-conda is disabled, so build the current image locally:
git clone https://github.com/ultralytics/ultralytics
cd ultralytics
t=ultralytics-conda:local
sudo docker build -f docker/Dockerfile-conda -t $t .
Run the image:
# Run the Ultralytics image in a container with GPU support
sudo docker run -it --ipc=host --device nvidia.com/gpu=all $t                         # all GPUs
sudo docker run -it --ipc=host --device nvidia.com/gpu=2 --device nvidia.com/gpu=3 $t # specify GPUs
On Linux, CDI device requests require Docker >= 28.2.0 and NVIDIA Container Toolkit >= 1.18. The legacy --gpus all flag can lose GPU access after host daemon reloads, so upgrade older Linux hosts and use --device instead. See the Docker Quickstart Guide for details.
Speeding Up Installation with Libmamba#
libmamba is a fast, cross-platform, dependency-aware solver that replaces Conda's classic solver. Conda 23.10 and later already use libmamba as the default solver, so most installations are faster out of the box.
If you're on an older Conda version, you can enable libmamba manually:
-
First, install the
conda-libmamba-solverpackage:conda install conda-libmamba-solver -
Next, configure Conda to use
libmambaas the solver:conda config --set solver libmamba
You have successfully set up a Conda environment, installed the Ultralytics package, and are now ready to explore its features. For more advanced tutorials and examples, see the Ultralytics documentation.
FAQ#
Setting up a Conda environment for Ultralytics projects is straightforward and ensures smooth package management. Create the environment with Python and Ultralytics from the conda-forge channel in one command, so conda resolves them together, then activate it:
conda create --name ultralytics-env -c conda-forge python=3.11 ultralytics torchvision -y conda activate ultralytics-envConda is a robust package and environment management system that offers several advantages over pip. It manages dependencies efficiently and ensures that all necessary libraries are compatible. Conda's isolated environments prevent conflicts between packages, which is crucial in data science and machine learning projects. Additionally, Conda supports binary package distribution, speeding up the installation process.
Yes, you can enhance performance by utilizing a CUDA-enabled environment. Create the environment with
ultralyticsand the conda-forgepytorch-gpumetapackage in the same command so a CUDA-enabled PyTorch build is resolved alongside it:conda create --name ultralytics-env -c conda-forge python=3.11 ultralytics torchvision pytorch-gpu -y conda activate ultralytics-envThis setup enables GPU acceleration, crucial for intensive tasks like deep learning model training and inference. For more information, visit the Ultralytics installation guide.
The Conda Dockerfile provides an isolated conda-forge environment with CUDA-enabled PyTorch. Follow the local build instructions, then run it with the GPU options shown there. The standard published GPU image and other alternatives are listed in the Docker guide.
Conda 23.10 and later already use the fast
libmambasolver by default. On older Conda versions, you can enable it manually by first installing theconda-libmamba-solverpackage:conda install conda-libmamba-solverThen configure Conda to use
libmambaas the solver:conda config --set solver libmambaThis setup provides faster and more efficient package management. For more tips on optimizing your environment, read about libmamba installation.